Starting an online business is an exciting venture, and one of the first steps is setting up your own Shopify store. Shopify is a user-friendly e-commerce platform that allows you to create a professional online store without the need for extensive technical skills. In this guide, we’ll walk you through the process of setting up your Shopify store in simple, easy-to-understand steps.
Step 1: Sign Up for a Shopify Account
To begin your Shopify journey, visit the Shopify website and click on the “Get Started” button. You’ll be prompted to create an account by entering your email address, password, and store name. Make sure to choose a store name that reflects your brand and is easy for customers to remember.
Step 2: Customize Your Store
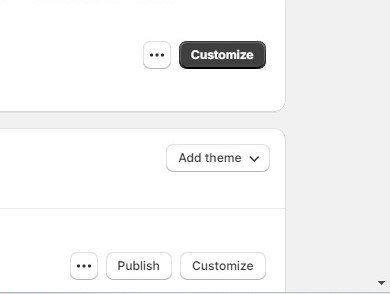
Once you’ve created your account, you’ll be directed to the Shopify dashboard. Here, you can customize the look and feel of your store. Choose a theme that suits your brand, and don’t worry – you can always change it later. Shopify offers a variety of free and paid themes to help you create a visually appealing storefront.
Customizing your store involves adding your logo, choosing a colour scheme, and arranging the layout of your homepage. Keep it simple and user-friendly to ensure a positive shopping experience for your customers.
Step 3: Add Your Products
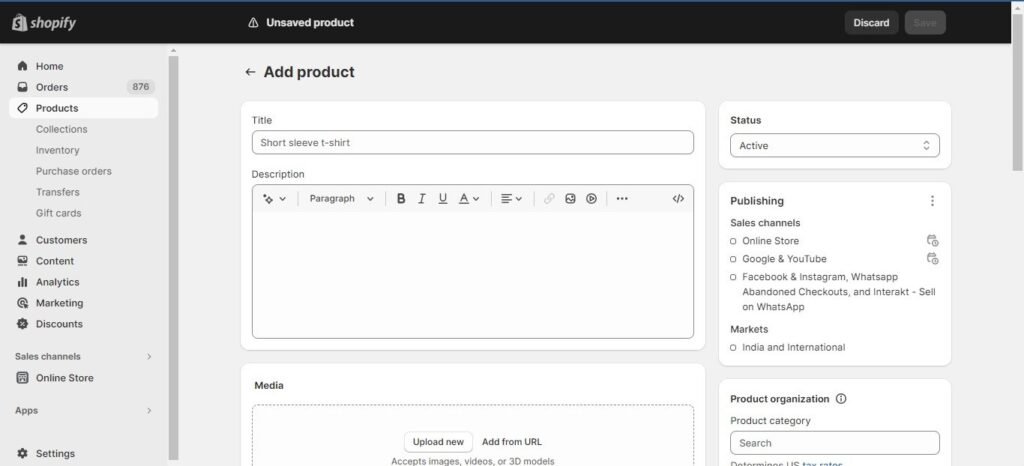
Now it’s time to showcase your products. Navigate to the “Products” tab in your dashboard and click on “Add product.” Fill in the product details, including the title, description, price, and images. Make sure your product descriptions are clear and informative, highlighting the benefits and features.
You can organize your products into categories to make navigation easier for your customers. Additionally, set up your inventory tracking to keep tabs on your stock levels and avoid overselling.
Step 4: Set Up Payment and Shipping
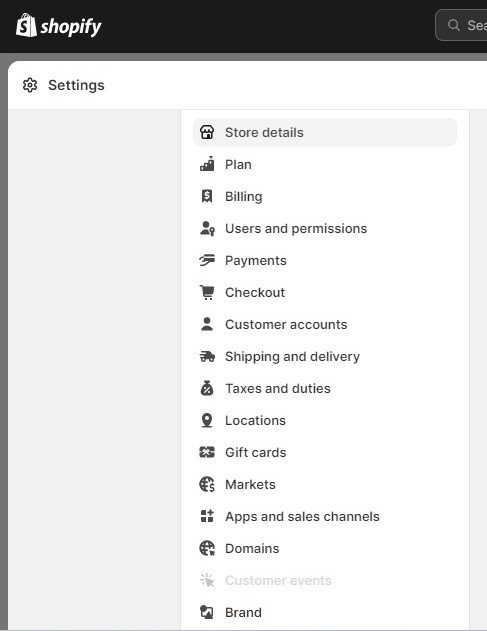
Shopify makes it easy to handle payments by providing various payment options, including credit cards, PayPal, and more. To set up payments, go to the “Settings” tab and select “Payments.” Follow the instructions to integrate your preferred payment gateways.
For shipping, enter your shipping rates and zones. Shopify offers real-time shipping rates for major carriers, making it simple for you to calculate shipping costs. Communicate your shipping policies on your website to manage customer expectations.
Step 5: Configure Your Domain
A domain name is your online address, and having a custom domain adds a professional touch to your store. Shopify allows you to purchase a domain directly through the platform or connect an existing one.
Go to the “Online Store” tab and choose “Domains” to set up or connect your domain.
Step 6: Optimize for SEO
Search Engine Optimization (SEO) is crucial for driving organic traffic to your store. Shopify provides built-in tools to help you optimize your product pages and improve your website’s visibility on search engines. Focus on using relevant keywords in your product titles, descriptions, and meta tags to attract potential customers.
Step 7: Launch Your Store
With everything set up, it’s time to launch your Shopify store. Before going live, double-check all your product listings, payment and shipping settings, and website functionality. Consider making a few test purchases to ensure the checkout process is smooth for your customers.
Congratulations! Your Shopify store is now live, and you’re ready to start selling.
Conclusion:
Setting up a Shopify store doesn’t have to be overwhelming. With its user-friendly interface and step-by-step guidance, Shopify makes it accessible for beginners to create a professional online presence. By following these easy steps, you can launch your e-commerce store and embark on a successful online business journey. Good luck with your Shopify adventure!